Quality profiles determines the color schemes the signal levels use when taking measurements on the meter. The color used are red, yellow and green. Using the web application of the H30 meter, you can view or add new quality profiles.
Selecting a Quality Profile
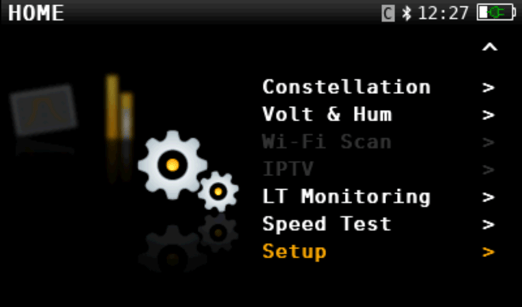
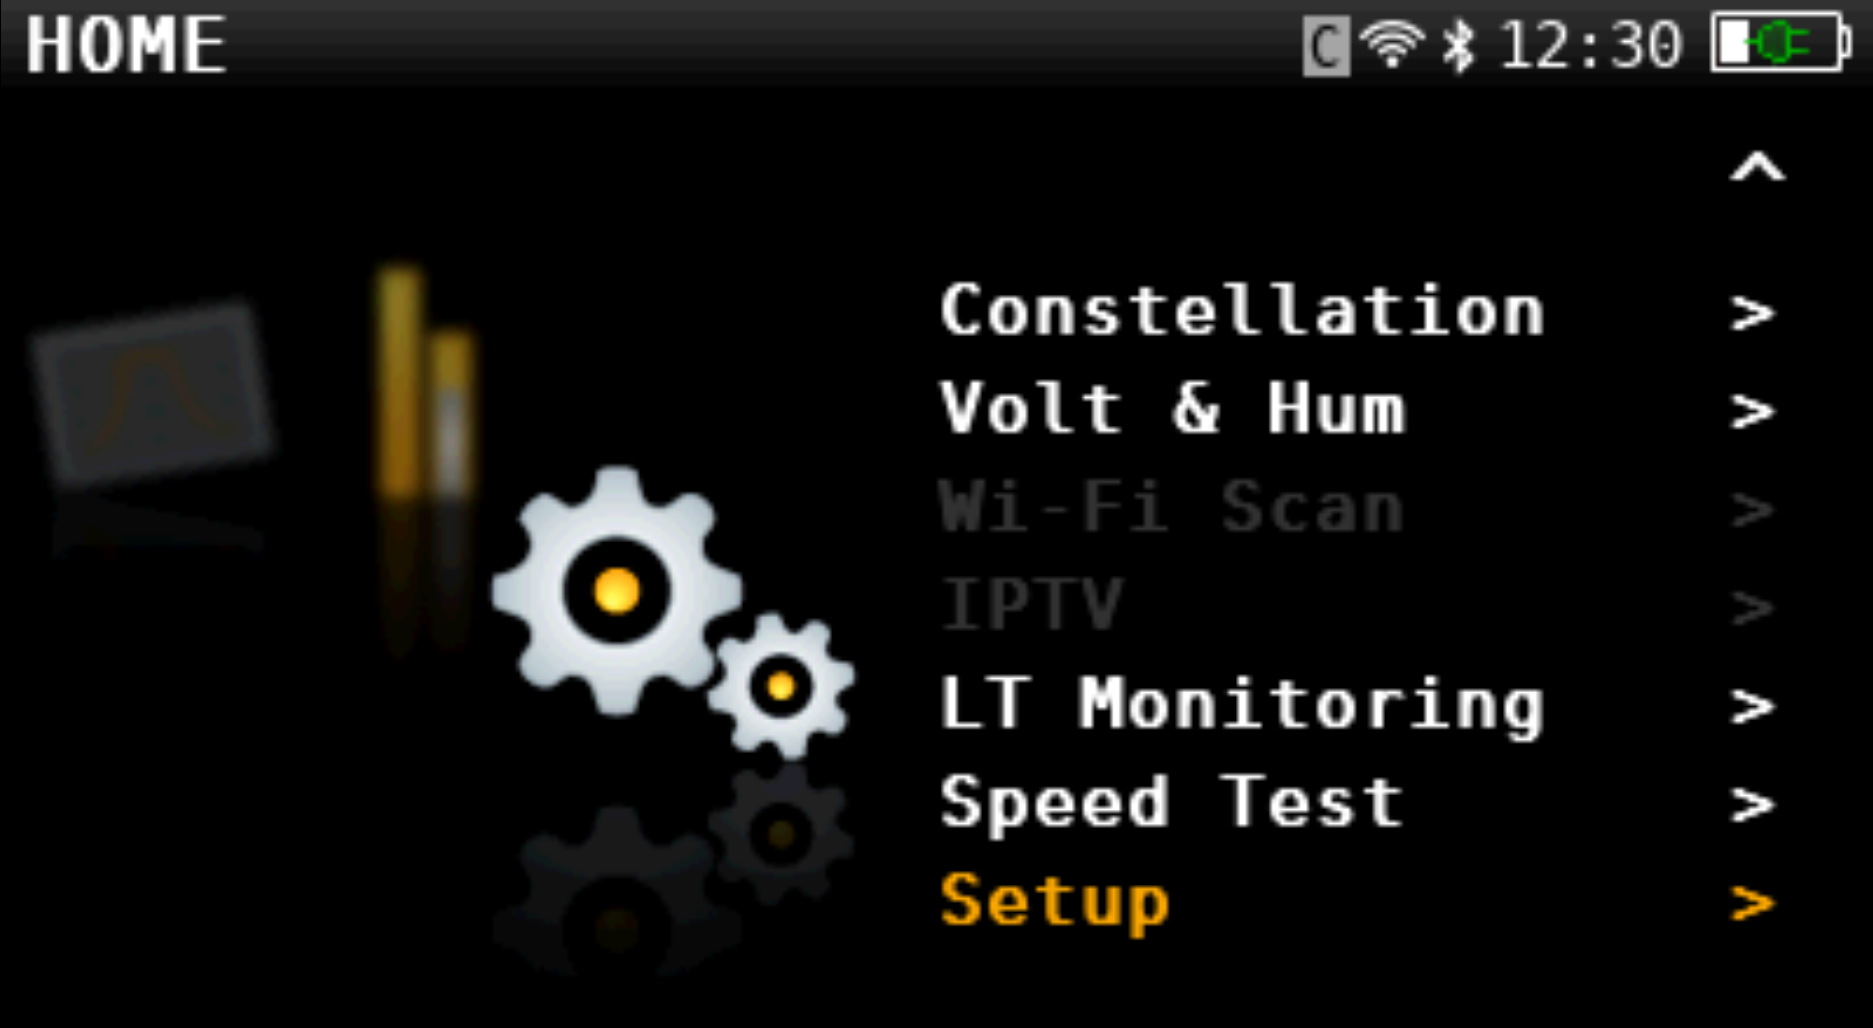
On the home screen, scroll down to Setup option or press the settings/gear button.
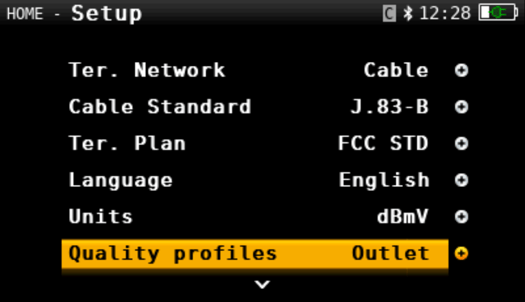
Scroll down to the Quality Profiles and then press on the OK button. This should present you with the quality profiles available on the unit.

To add/view quality profiles options you will need to access meter's web application. On the computer where you want to access the web application, open a web browser and type in the IP address of the meter. This should load the web-app for the Televes meter.
 Ensure that the computer is on the same network as the meter.
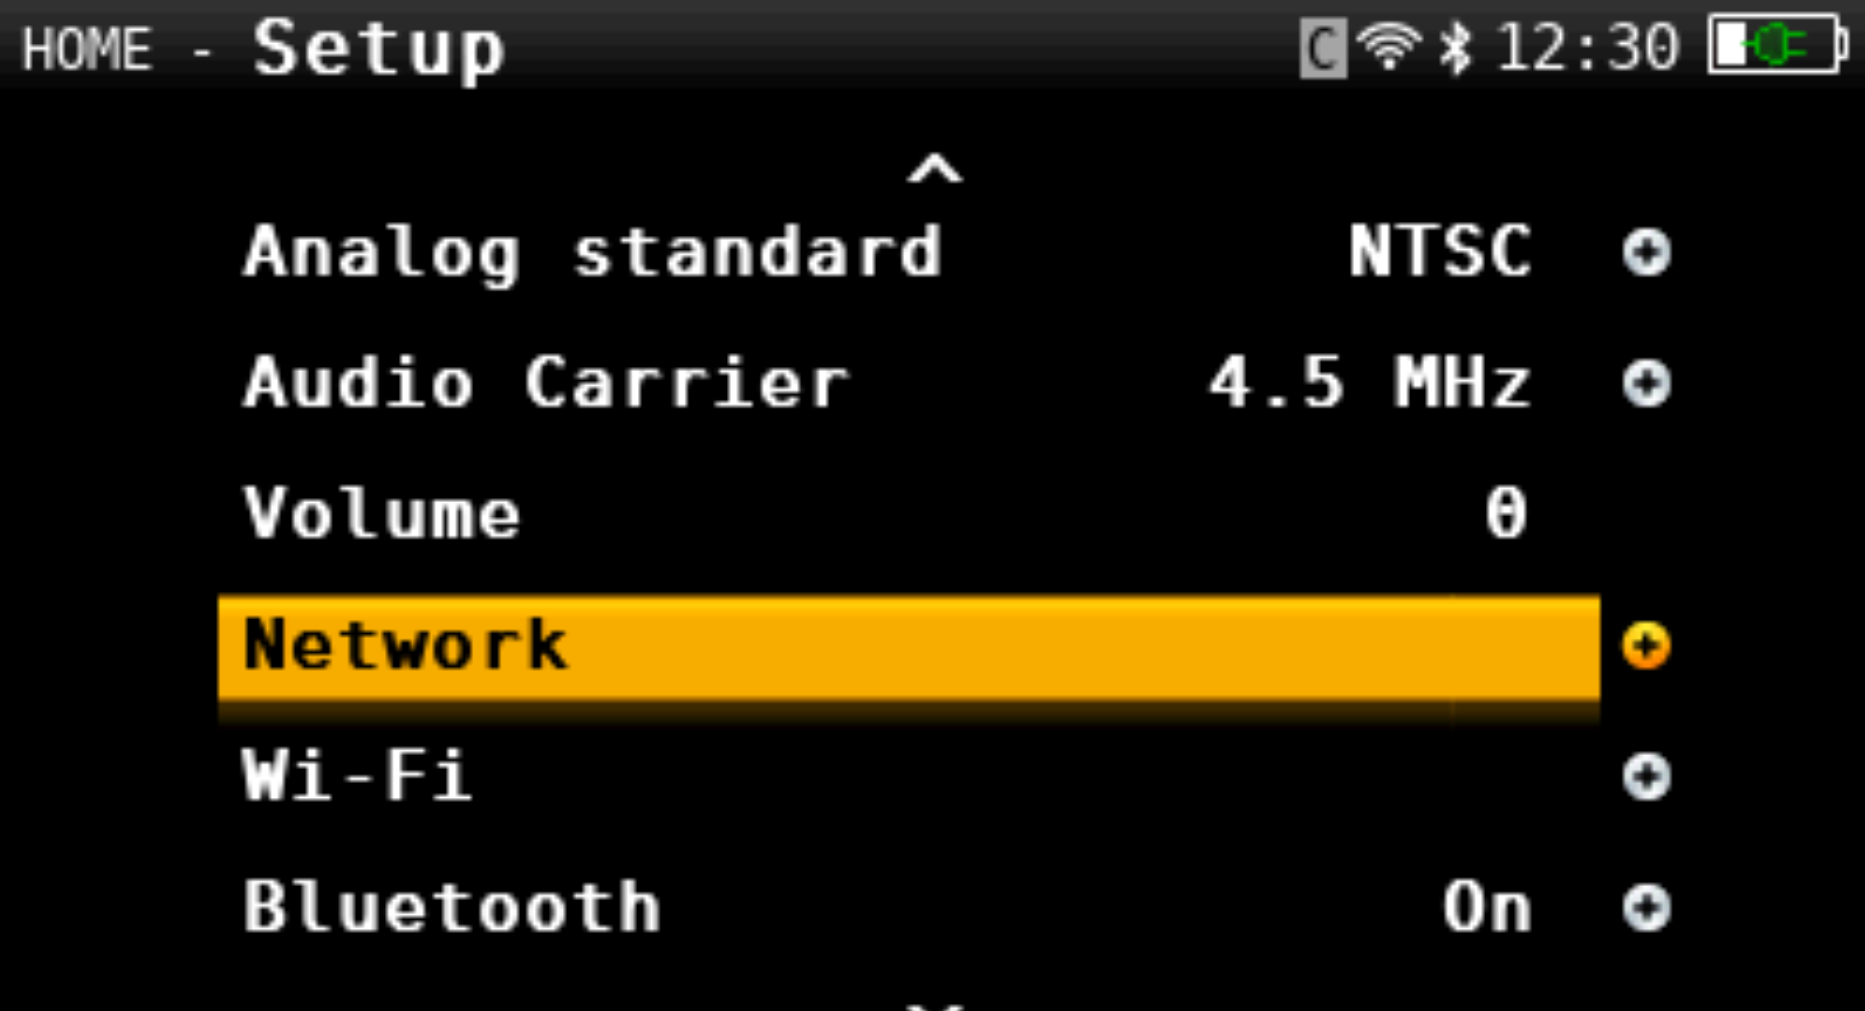
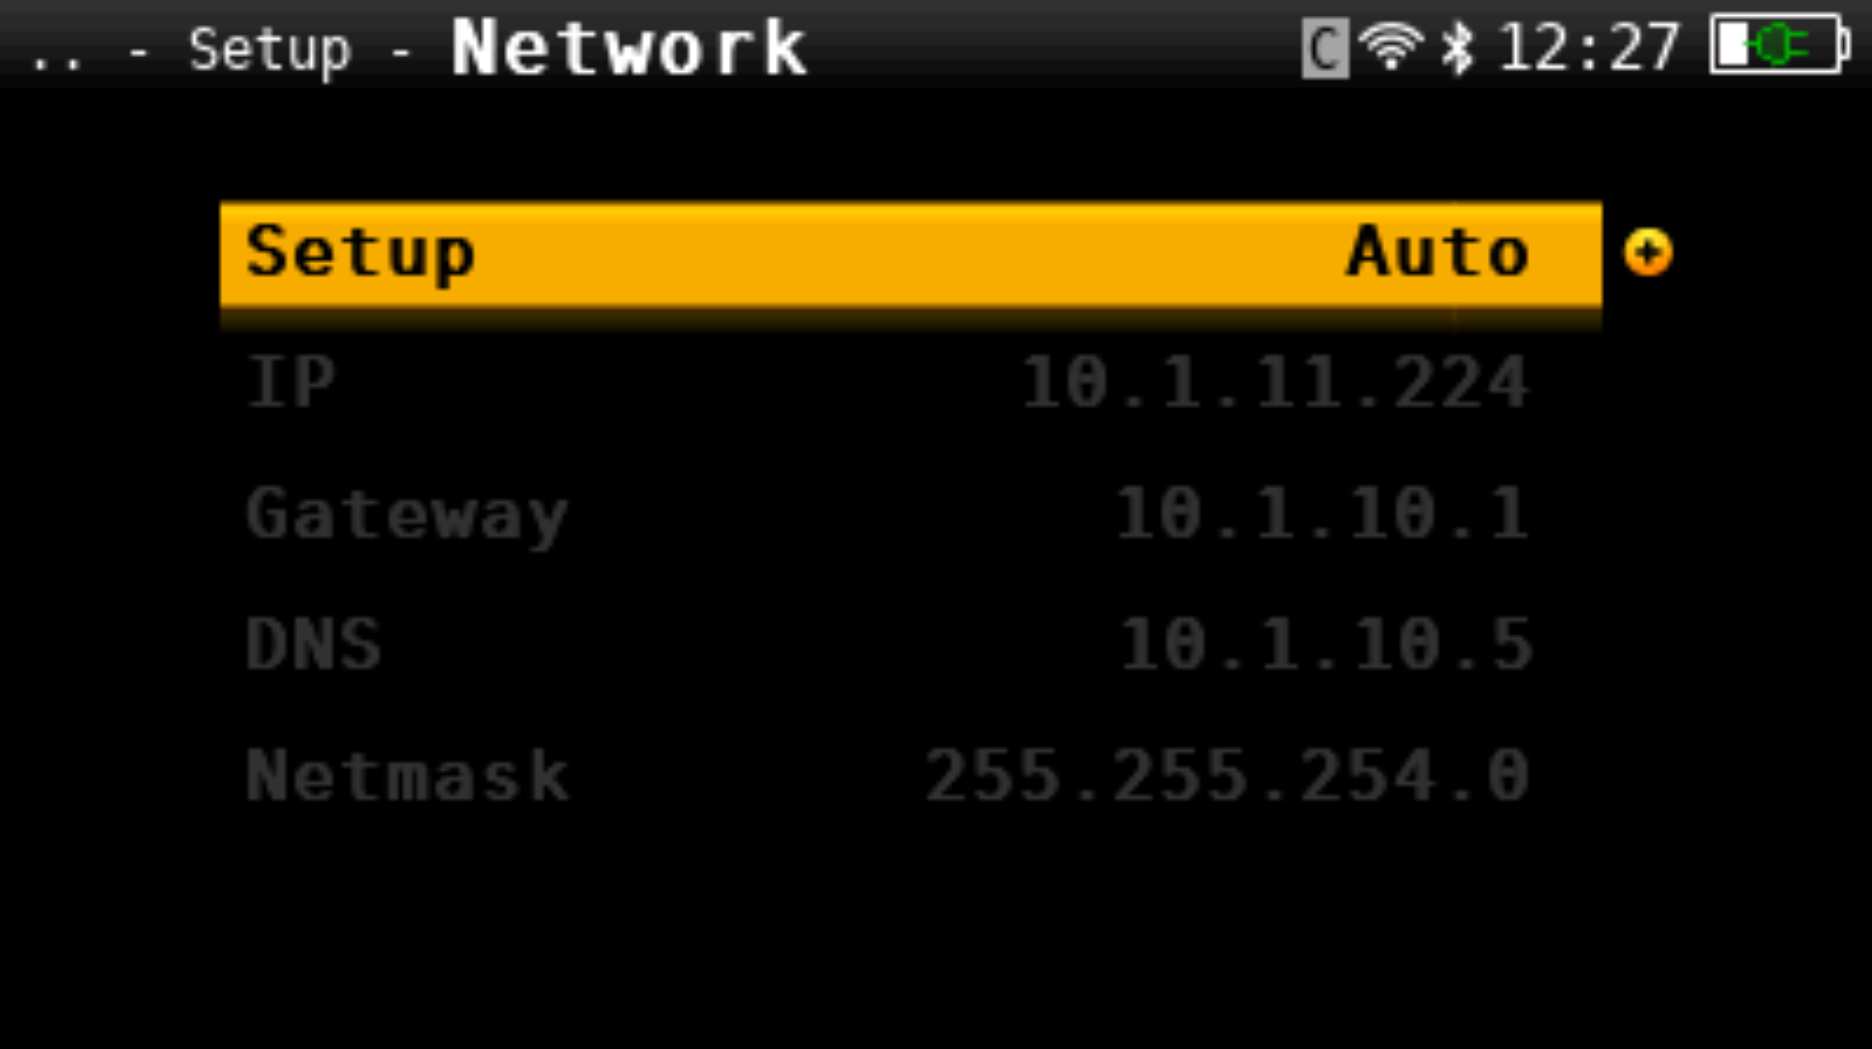
The meter's IP address can be found by navigating to Setup found at the bottom of the home screen. Then by selecting Network, the IP address will be displayed.
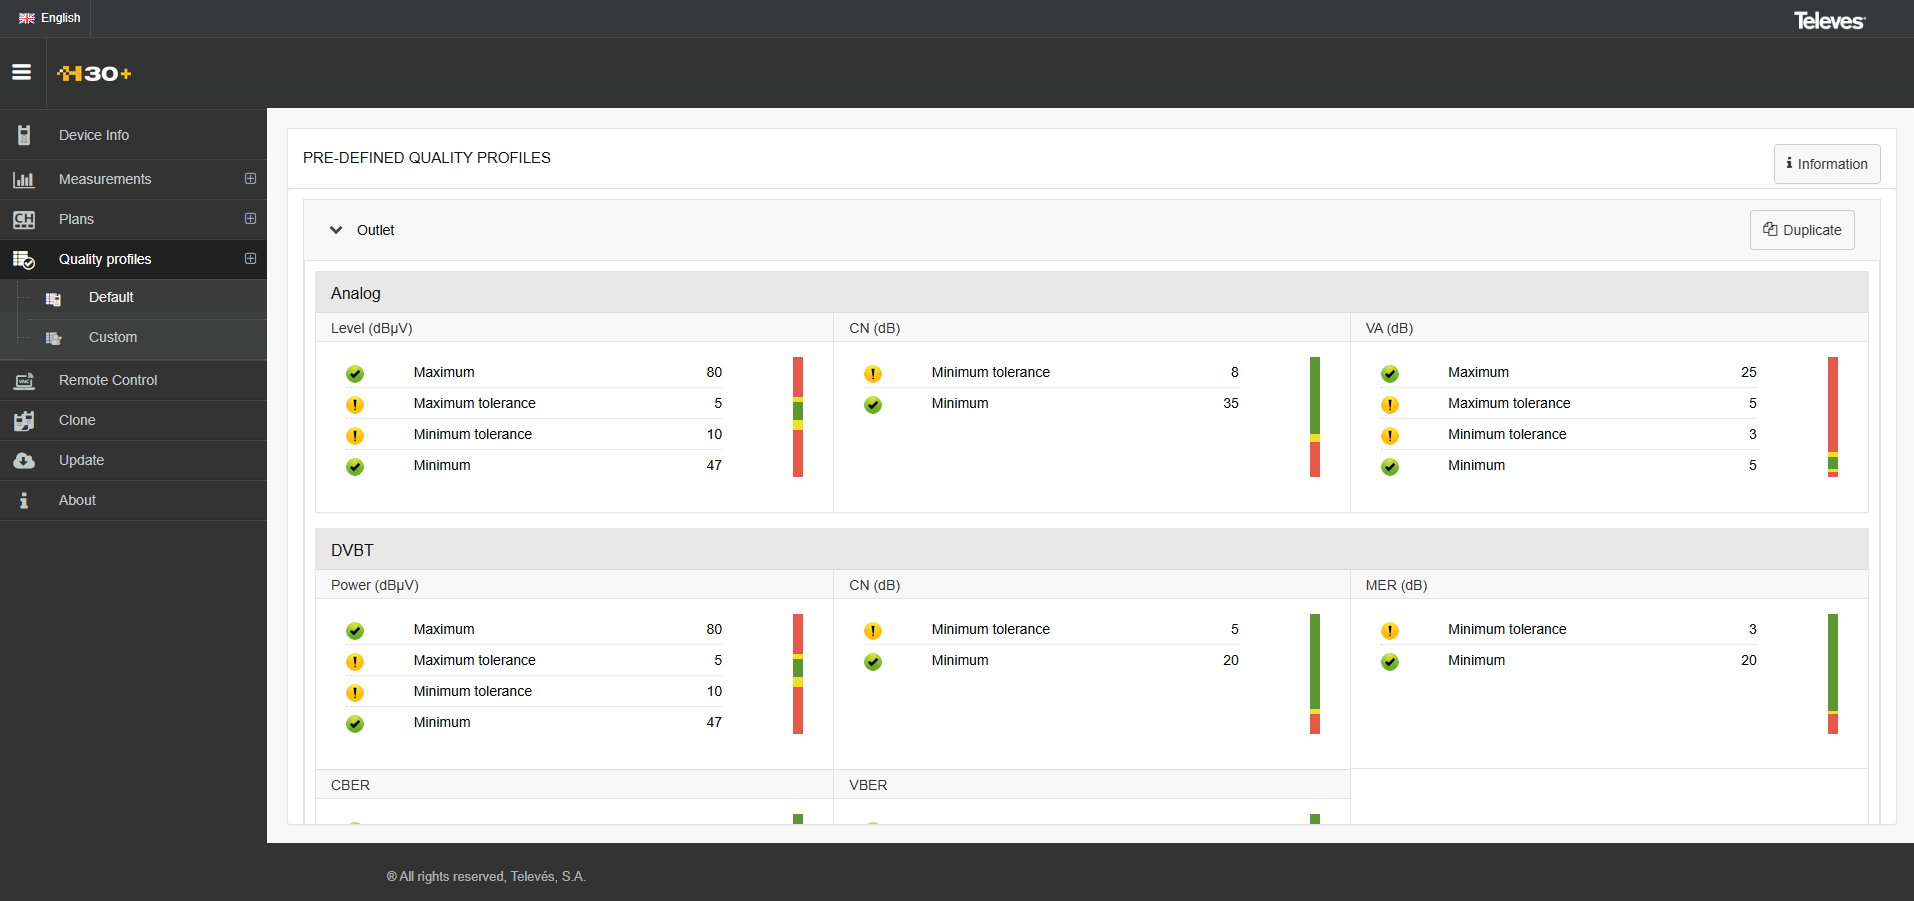
Once the web app is loaded on the browser, use the menu bar on the left to navigate to the Quality Profiles section. The meter already has two quality profiles built - Outlet and Heandend. These profiles cannot be edited but they can be duplicated for creating new profiles with different values.
The GREEN color is used when the measured values are in the ideal range. Please refer to the following image which is used a reference for each of the listed metrics.
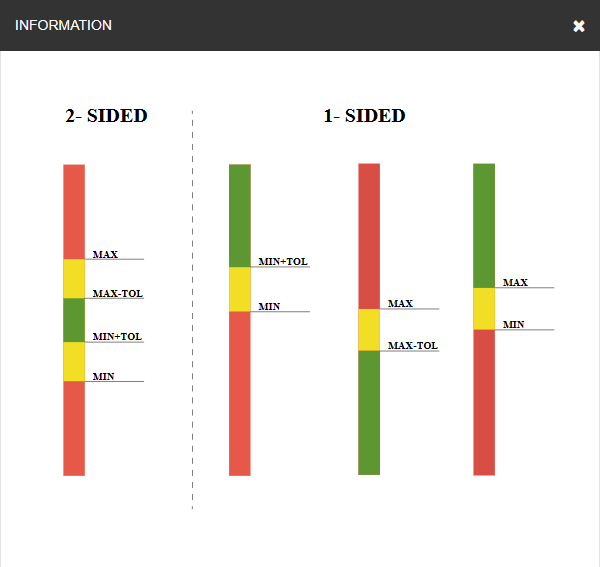 Visual Guide for Tolerance Bands
The YELLOW color is used when the measured values exceed the ideal range but are still within the tolerances listed for each metric.
The RED color is used when the values measured are out of bounds and exceed the maximum and/or minimum limits including the tolerances specified for a metric.
Adding a Quality Profile
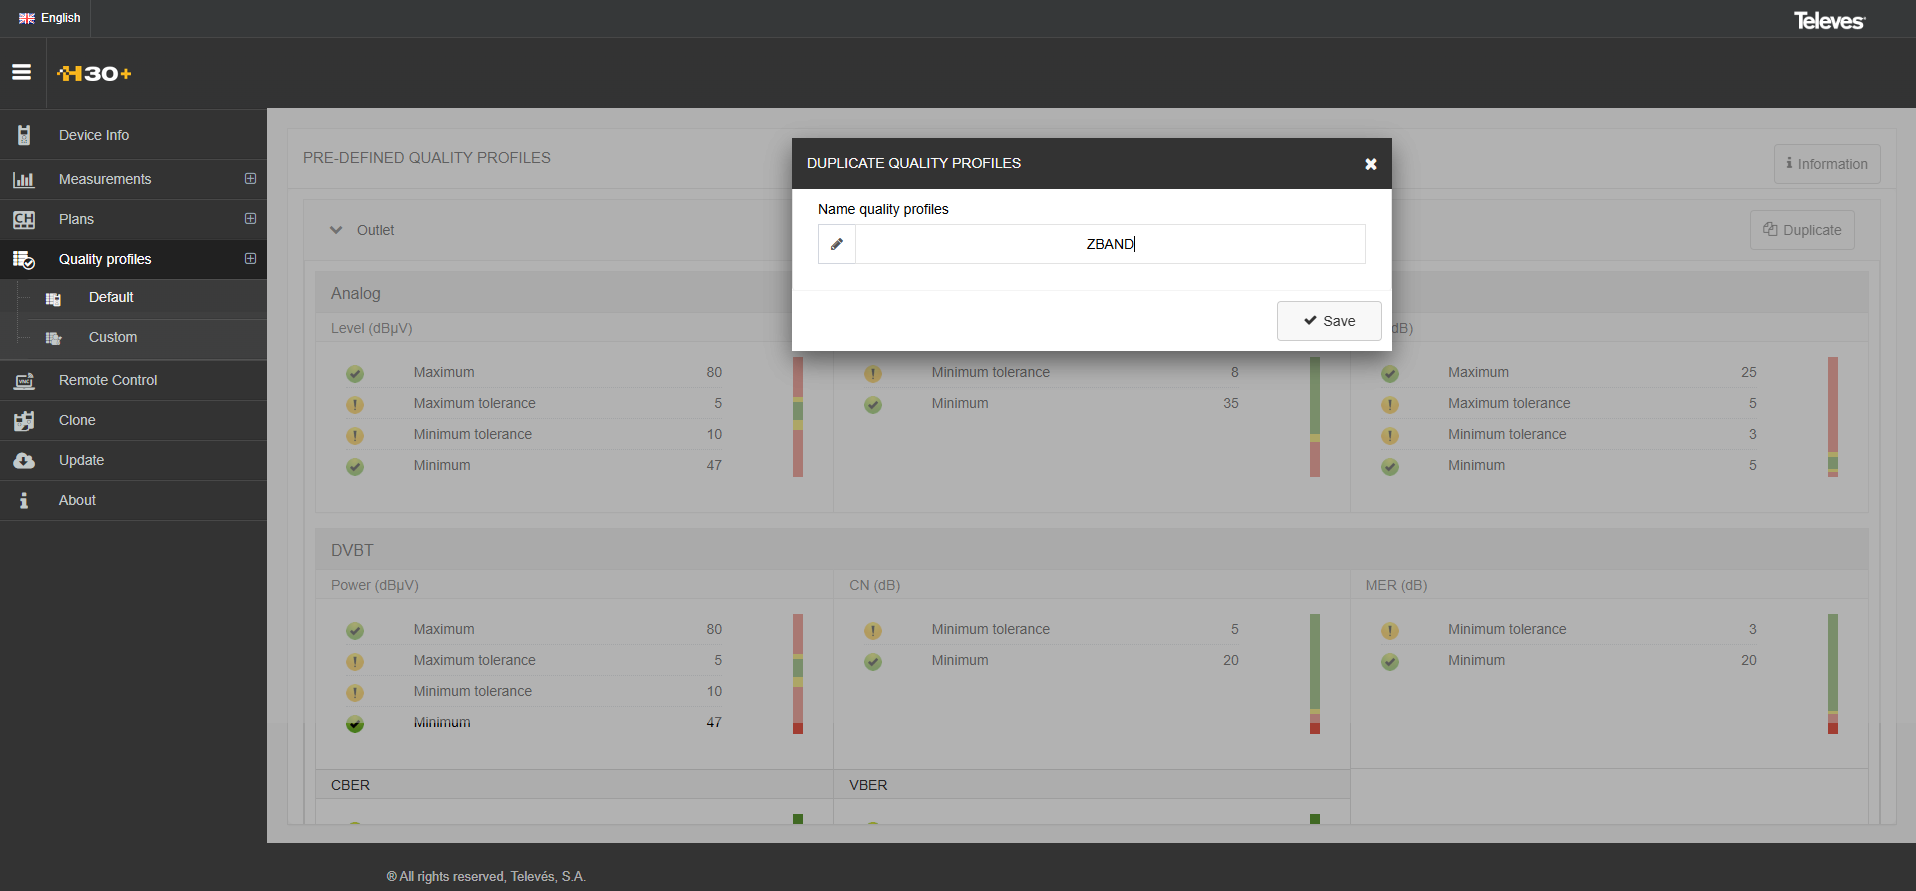
Clicking on the Duplicate button will bring up a prompt to name the new profile. T hese new duplicates will be listed under the Custom section on the left menu bar.

Each of the values can be adjusted by using the edit icon right next to the box. Some metrics have two sided limits for defining upper and lower bounds and some metrics only have a one sided limit. As the limit/tolerance numbers are adjusted, the web app adjusts the visual guide to show how the values for each of the colors is changed. This is shown in the example below. The second image below shows the values being adjusted from the defaults.
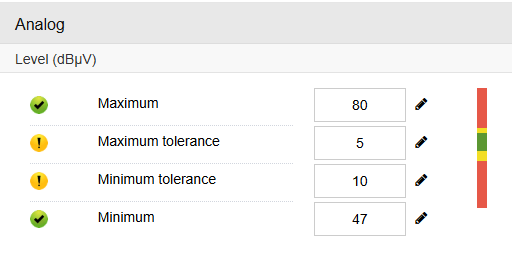 Original Limits
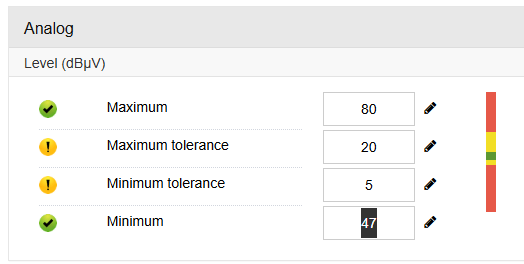 Adjusted Limits